
Step 1
 Research what comic books you're interested on. Check the style of the illustrations and what types of heroes and heroines are in those comic books. Comic books can vary widely, from futuristic space operas, to detective dramas, even to medieval adventures. Note the style of drawings and which ones seem to interest you.
 Step 2
 Create the characters for your comic book. Draw a blueprint for each major character so that you can use this as a reference while drawing your comic book. Create these characters using a basic frame. Draw an oval for the head, rectangle for the chest and an upside down triangle for the pelvis. Create the legs and arms with simple lines. Layer on muscles with oblong football shapes. Major muscles like the pectorals and quads can be drawn with large oval shapes. Smaller muscles like biceps and triceps can be done with smaller, more-round oval shapes.
 Step 3
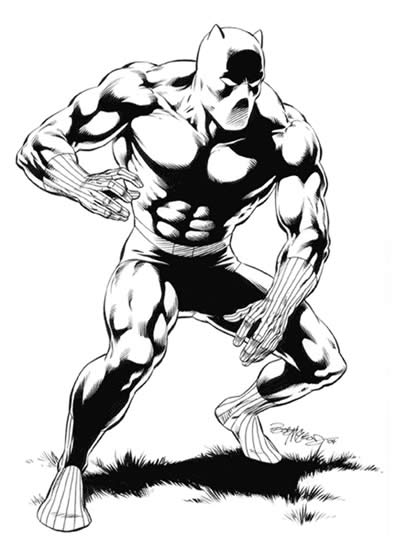
 Create the costume for your hero. Take into account what kind of hero or heroine you are creating. For instance, if your character is stealthy and lurks in shadows, then dark masks and black clothes should be used. If your character is a bold and strong hero, perhaps consider bright colors and a flashy cape.
 Step 4
 Lay illustrations on a comic book page. These should be on pages that are 11 inches wide and 17 inches long. This will allow you to draw larger than needed and reduce the image, which will improve the quality. Lay out your comic book panels using a "Z" format that allows a reader to follow the action from left to right, diagonally left and then right. Another way to lay out a page is to start with a large picture showing a lot of action and then continue diagonally left and to the right for smaller frames that help support the main action.
 Step 5
 Ink your pages using a black ink pen. This will help the illustrations remain crisp and highly detailed even when they are reduced in size. Place thicker lines of black wherever there is a shadow. Let each page dry completely and then carefully erase your pencil strokes with a kneaded eraser.
 Step 6
 Color each page using art markers. Make a photocopy of your inked work before coloring the comic book to preserve a black and white copy of the book. Once the comic book is completed you can take each finalized page to any copy shop and have the book bound and printed. Keep in mind that a black and white comic book will be much cheaper to print than a color comic book.
 Step 7
Enjoy your comic book! 